
Introduction
Lens flare is a powerful artistic tool in photography and digital imaging. When used correctly, it can enhance lighting, create a cinematic effect, and add depth to an image. Photeeq lens flare is a digital tool that allows photographers, graphic designers, and digital artists to integrate high-quality, realistic lens flare effects into their photos effortlessly.
Whether you’re a beginner exploring creative photography or a professional looking to refine your editing skills, understanding how to use Photeeq lens flare can significantly enhance your work. This comprehensive guide covers everything you need to know about lens flare, its applications, how to use Photeeq for the best results, and common mistakes to avoid.
What is Lens Flare and Why is it Important?
Understanding Lens Flare
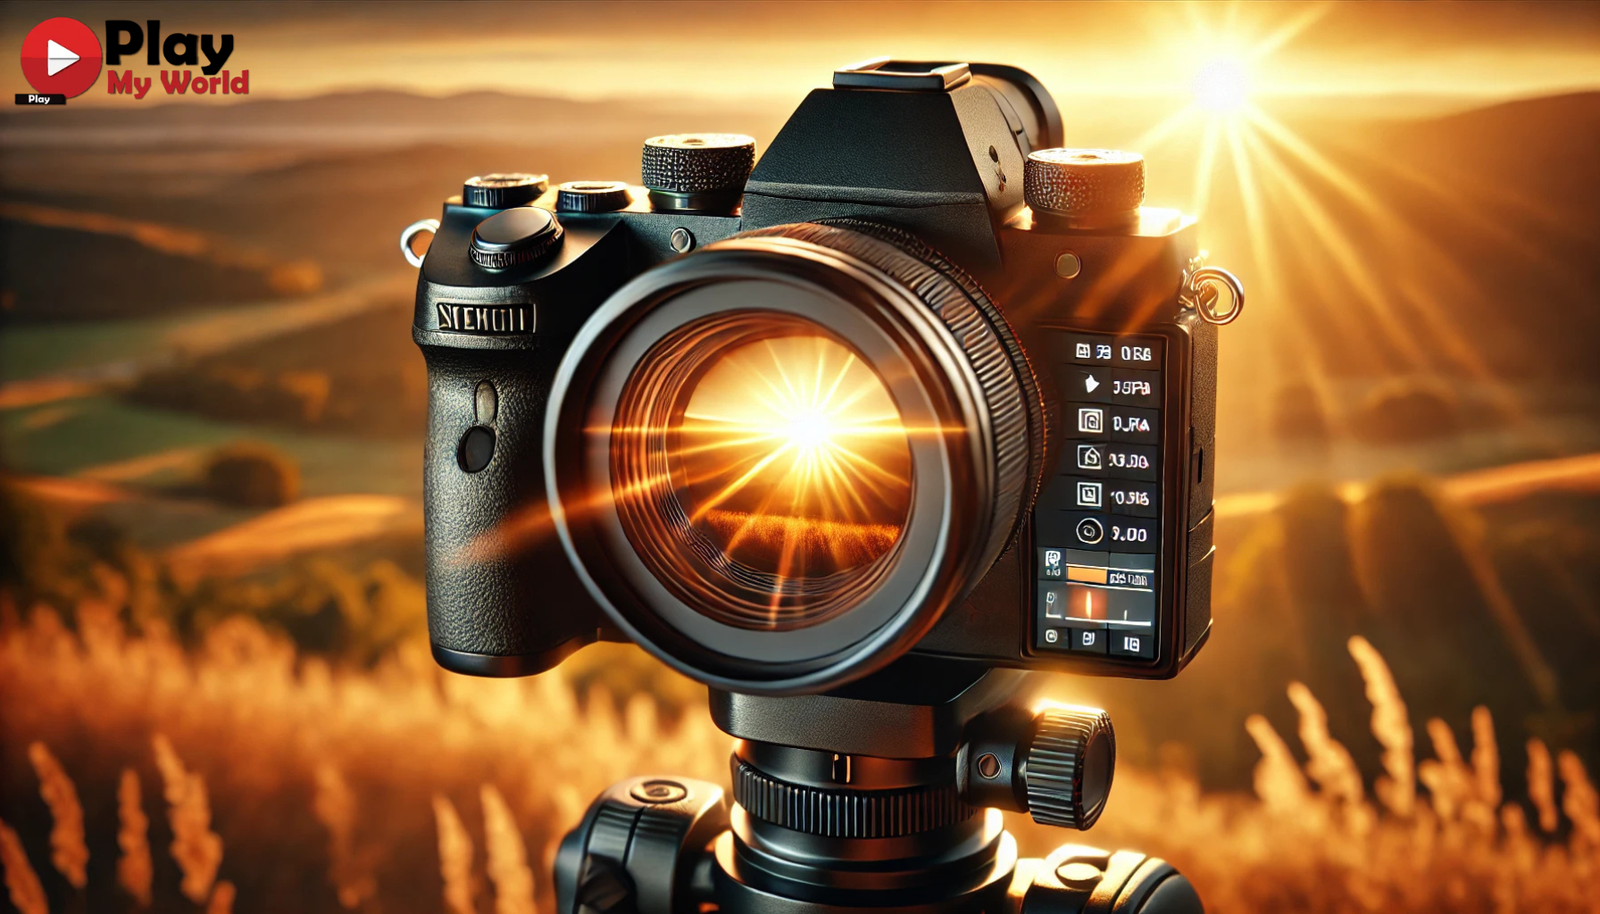
Lens flare occurs when a strong light source, such as the sun or artificial lights, enters the camera lens and scatters light across the image. This phenomenon creates beautiful light streaks, circular halos, or hazy glows that add an artistic touch to photos.
Why Use Lens Flare in Photography?
While lens flare was initially considered an unwanted artifact, many photographers now intentionally use it to enhance their images. Some benefits include:
- Creating a warm, dreamy atmosphere: Ideal for golden hour photography.
- Enhancing realism in digital compositions: Common in movie scenes and 3D renders.
- Directing attention to the subject: Helps focus the viewer’s eye on key elements.
- Adding energy and emotion to an image: Often used in lifestyle and adventure photography.
By using Photeeq lens flare, users can apply these effects digitally, offering more control and customization than natural lens flare captured in-camera.
What is Photeeq Lens Flare?
Overview of Photeeq Lens Flare
Photeeq lens flare is a digital editing tool designed to add natural-looking lens flare effects to images. It allows users to simulate realistic lighting conditions and enhance the overall aesthetic of their photos.
Key Features of Photeeq Lens Flare
- Realistic Light Effects: Mimics natural lens flare seen in photography.
- Customizable Settings: Adjust brightness, color, opacity, and placement.
- Compatible with Editing Software: Works with major tools like Photoshop and Lightroom.
- Non-Destructive Editing: Enables modifications without altering the original image.
This makes Photeeq lens flare a must-have tool for photographers, designers, and artists looking to achieve professional results.
How to Use Photeeq Lens Flare: Step-by-Step Guide
Step 1: Choose the Right Image
- Select an image with a visible light source such as sunlight, streetlights, or stage lights.
- Lens flare looks most natural in outdoor photography, cinematic portraits, and high-contrast scenes.
Step 2: Open the Image in Your Editing Software
- Import your image into Photoshop, Lightroom, or another compatible software.
- Make initial adjustments, such as contrast, saturation, and exposure before applying lens flare.
Step 3: Apply the Photeeq Lens Flare Effect
- Open Photeeq lens flare and browse the available flare types.
- Position the flare where the natural light source is located.
- Adjust intensity, color temperature, and opacity to match the lighting of the image.
Step 4: Blend the Effect for a Natural Look
- Reduce the flare opacity if it looks too artificial.
- Use layer masks to remove unwanted flare portions.
- Add a subtle glow effect to enhance realism.
Step 5: Final Adjustments and Export
- Fine-tune the sharpness and color balance for a cohesive look.
- Save the final image in high resolution (JPEG, PNG, or TIFF).
By following these steps, you can create a stunning, professional-looking image with lens flare effects.
Best Practices for Using Lens Flare Effectively
Align the Flare with the Light Source
- Ensure that the flare’s direction and intensity match the existing light source in the image.
- Placing the flare randomly can make the image look unnatural.
Use Lens Flare in Moderation
- Too much lens flare can distract from the main subject and reduce image clarity.
- A subtle approach enhances the composition without overwhelming it.
Experiment with Different Styles
- Use warm golden-hour flares for soft, romantic effects.
- Try blue-tinted flares for a sci-fi or futuristic look.
Combine Lens Flare with Other Lighting Adjustments
- Adjust contrast, shadows, and highlights to make the effect blend naturally.
- Layer multiple light effects for a cinematic feel.
By applying these best practices, you can achieve a natural and polished look using Photeeq lens flare.
Common Mistakes to Avoid When Using Lens Flare
Misplacing the Lens Flare
- Lens flare should always align with the main light source in the image.
- Randomly placed flares can make the image look unrealistic and poorly edited.
Overpowering the Subject
- If the flare is too intense, it can wash out details and reduce clarity.
- Adjust opacity and brightness to maintain subject visibility.
Ignoring Image Resolution
- Low-resolution images may cause pixelation and unnatural-looking flare effects.
- Always work with high-quality photos for better results.
By avoiding these mistakes, you can ensure that your lens flare effects look professional and realistic.
Best Alternatives to Photeeq Lens Flare
While Photeeq lens flare is an excellent tool, there are other alternatives worth exploring:
Adobe Photoshop Lens Flare Filter
- Offers basic lens flare effects under the “Render” filter.
- Best for quick, built-in solutions but lacks advanced customization.
Nik Collection by DxO
- Provides high-end light effects and lens flare adjustments.
- Ideal for professional photographers and digital artists.
Luminar Neo AI Light Effects
- Uses AI-powered enhancements to add and control lens flare naturally.
- Great for realistic, cinematic lighting adjustments.
While Photeeq remains a top choice, these alternatives provide additional options for users with different needs.
Conclusion
Photeeq lens flare is a powerful and versatile tool that allows photographers, designers, and digital artists to add professional-grade lighting effects to their images. By understanding how to apply lens flare correctly, following best practices, and avoiding common mistakes, users can create visually stunning and cinematic compositions.
Whether you’re working on portrait photography, landscape images, or digital artwork, Photeeq lens flare offers an intuitive and effective way to enhance your photos. For those looking to experiment with dynamic lighting and creative effects, this tool is a must-have for any photography toolkit.
If you’re ready to take your images to the next level, start experimenting with Photeeq lens flare today and transform ordinary photos into extraordinary visual experiences.